Not long ago I stopped by the Ham Radio Outlet (HRO) in Anaheim, CA. As I looked around, I noticed a large wall display of HamStick antennas.
Actually, they are no longer referred to as “HamSticks. ” They are marketed by Shark Distributing, Inc. and packaged with their name. Regardless, HamSticks are legendary in the Ham universe.
I bought several of them, including an S-F20 and S-F40.
In the field, I screwed the 20M stick to a magnetic mount. Then I placed it on the roof of my 2004 Tundra and tuned it with my antenna analyzer. Tuning is easy. You slide the whip up or down until your analyzer shows the lowest SWR. Once tuned, I marked the whip with a sharpie for easy deployment in the future.
I tested the 20M stick on several POTA activation’s. I was shocked at the great performance. I even had a DX QSO with a chap in Puerto Rico. Best $25 I ever spent.
Next up, the 40M stick. Hoo boy! This was a whole different story. I discovered numerous blogs and YouTube videos that trash this antenna as unusable. Many Hams say it cannot be tuned. Others say there is no way to “shorten” a 40M antenna to 44″ and get it to work.
Sure enough, I put the 40M stick on top of the truck and could not tune it. Not even close. I could not bring the SWR down below 2.5 no matter what position the whip was in. I suppose I could have tuned it to the lowest SWR and used an antenna tuner (Z-11 ProII), but that spoils the convenience of a hamstick.
I found a YouTube video that recommended I loop the coax cable a few times around a ferrite toroid. OK – why not?
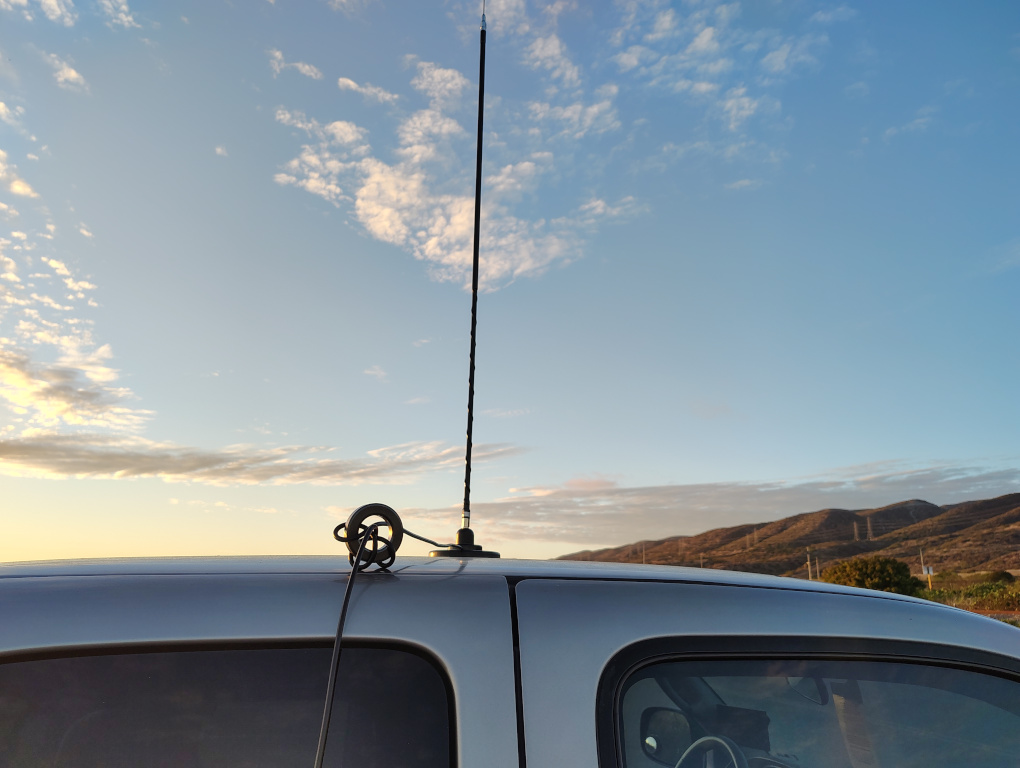
What a difference! I was able to tune the antenna to an SWR of 1.2:1! Now I have a very convenient way of getting on 40 meters in less than 2 minutes – without having to use a tuner.
The lesson here is – experiment. If something does not work, try to determine why. Then fix it or figure out a workaround.
73,
N1SPW